Modding: Image Emitters
| Fundamentals |
|---|
| Basics • Data.wak • Getting started • Lua Scripting • Useful Tools |
| Guides |
| Audio • Enemies • Environments (Fog of War) • Image Emitters • Materials • Perks • Special Behaviors • Spells • Spritesheets • Steam Workshop • Using CMake |
| Components/Entities |
| Component Documentation • Enums • List of all tags • Special Tags • Tags System • Update Order |
| Lua Scripting |
| Lua API • Utility Scripts |
| Other Information |
| Enemy Information Table • Magic Numbers • Sound Events • Spell IDs • Perk IDs • Material IDs |
Image emitters are commonly used to create particle animations. They are used on many things such as picking up a Potion, using a Kammi , picking up a new wand, etc.
Coding an image emitter
An image emitter is made using a ParticleEmitterComponent more info on the image emitter component can be found on the wiki or in component_documentation.txt under Steam\steamapps\common\Noita\tools_modding
The main parts of an image emitter involve:
| Var Name | Value Allowed | Description |
|---|---|---|
| image_animation_file | "String path to file" | "file to use for image-based animation" |
| image_animation_speed | [0, 255] | "how long do we stay on one frame of image-based animation. 0.5 means two game frames per one animation frame. 2.0 means two animation frames per one game frame, and so on. 0 means we always emit at time 0 of the animation." |
| image_animation_loop | [0, 1] | "does image-based animation keep looping while this component is active?" |
| image_animation_phase | [0, 1] | "the point in time [0,1] where the image-based animation will start the first cycle" |
| image_animation_emission_probability | [0, 1] | "[0,1], probability of emitting image based particles is multiplied with this" |
| image_animation_raytrace_from_center | [0, 1] | "enable this to disable image_animations (from the center) going through the world" |
| image_animation_use_entity_rotation | [0, 1] | "if 1, image animation emission will be rotated based on entity rotation" |
Here's an example of an image emitter with a played sound
<Entity name = "Emit_Effect" serialize = "1">
	<InheritTransformComponent
		only_position="1"
    ></InheritTransformComponent>

  	<ParticleEmitterComponent
		emitted_material_name="water"
		gravity.y="0.0"
		offset.y="-18"
		lifetime_min="4"
		lifetime_max="8"
		count_min="8"
		count_max="8"
		render_on_grid="1"
		collide_with_grid="0"
		collide_with_gas_and_fire="0"
		fade_based_on_lifetime="1"
		area_circle_radius.min="0"
		area_circle_radius.max="0"
		cosmetic_force_create="0"
		airflow_force="0.251"
		airflow_time="1.01"
		airflow_scale="0.05"
		emission_interval_min_frames="1"
		emission_interval_max_frames="1"
		emit_cosmetic_particles="1"
		image_animation_file="mods/Ride Minecart/data/images/Minecart_Emit.png"
		image_animation_speed="0.1"
		image_animation_loop="0"
		image_animation_raytrace_from_center="0"
		is_emitting="1"
    ></ParticleEmitterComponent>

	<LifetimeComponent
		lifetime="500" >
	</LifetimeComponent>

	<!--
    <AudioComponent
      file="data/audio/Desktop/event_cues.bank"
      event_root="event_cues/spell_refresh">
    </AudioComponent>
	-->

    <AudioLoopComponent
		_enabled="1"
		file="data/audio/Desktop/misc.bank"
		event_name="misc/runestone_loop"
		calculate_material_lowpass="0"
		auto_play="1"
	></AudioLoopComponent>
</Entity>
to run this image emitter you would do
EntityLoad("Path to Image emitter", Xcoord, Ycoord)
Image Emitters
Image Emitter rely on a few conditions
- if the background of the image is clear it should be replaced with black
- The colors and shades of Red, Green, Yellow and Black should be only used
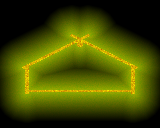
Different colors effect the image this is shown below;
Advanced Image Emitters
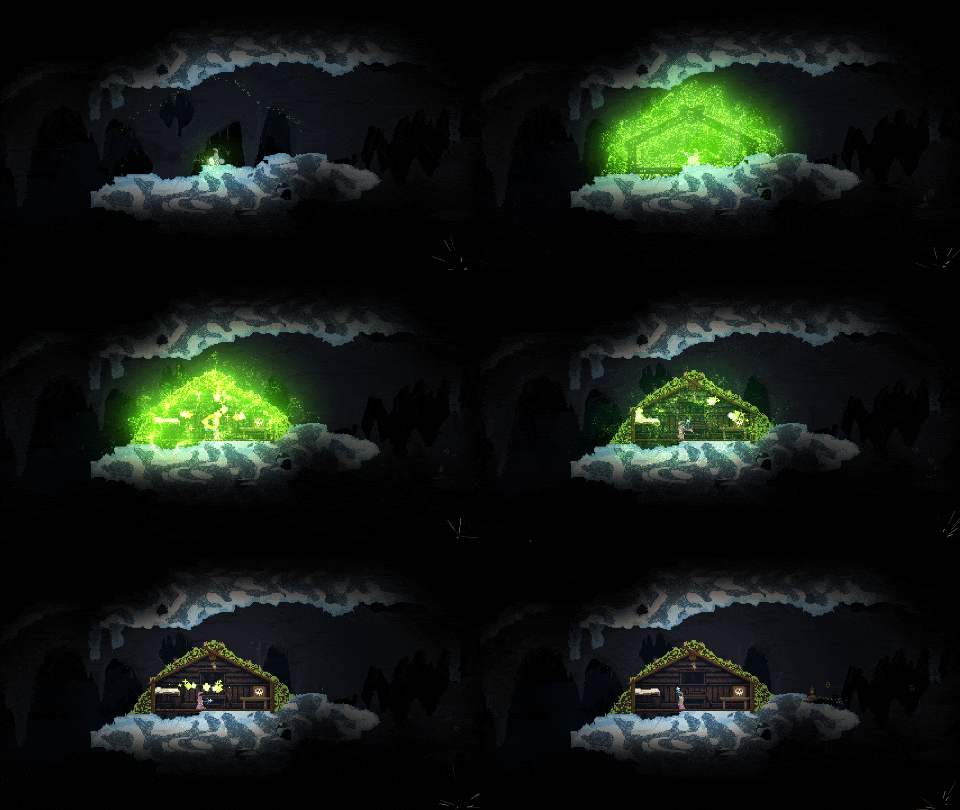
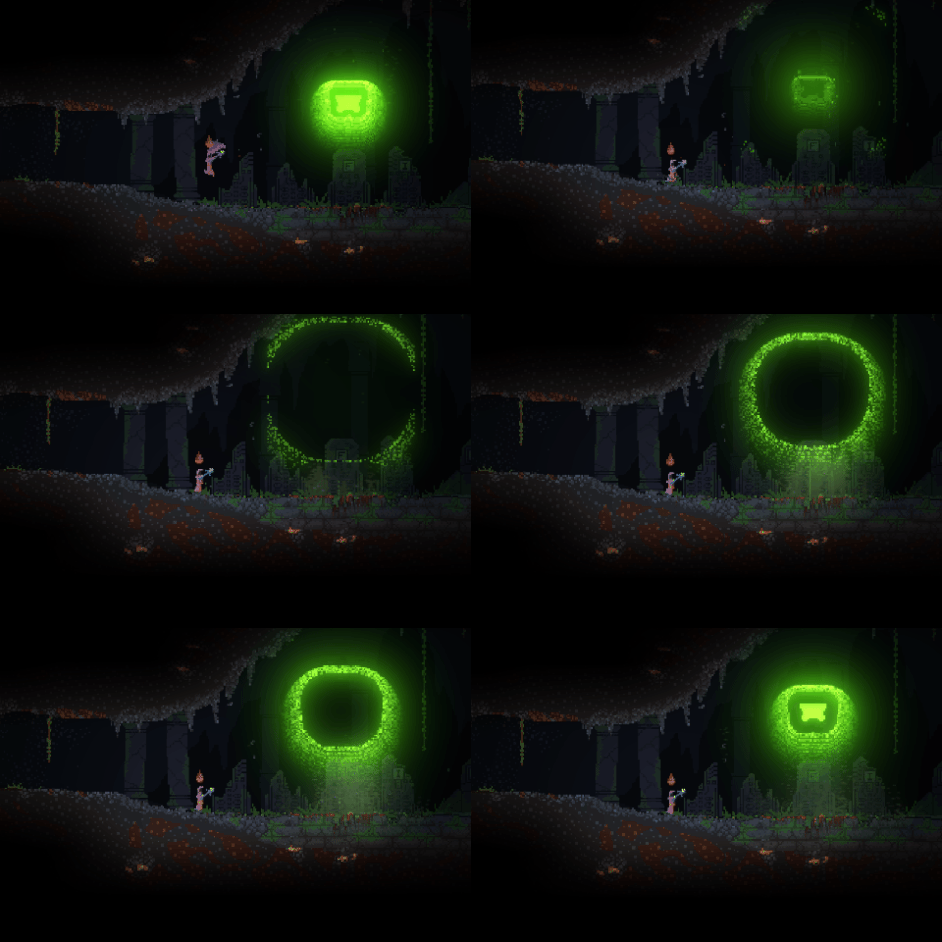
Once you come to grips with how image emitters works you can begin to understand how certain aniamtions are formed. Take the Kammi for example this is summoned using a combination of Green and Red in the image. The red causes the animation to have a constant amount of pixels and the green represents the animtion going to the centre (time) combined togther making yellow this creates the final animation of the Kammi.
Creating your own Kammi effect
Creating the kammi effect is probably the most difficult method to do (atleast in my opinion) - so i will guide you on how to do it :D
What i'm using
For this tutorial i will be using:
If you aren't using gimp you need to make sure your software has a Distance Transform tool.
Steps
Now follow the steps below:
| Steps | Reference |
|---|---|
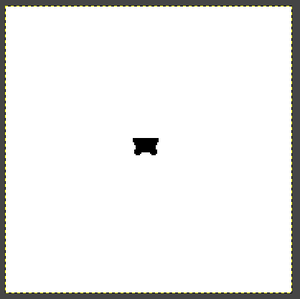
| 1. Begin by making your shape - make sure its not overly complex
otherwise it won't work, also don't bother adding color just make the shape |
|
| 2. Color the image completely black | |
| 3. Now fill the background white - make
sure the background and the image are not seperate layers | |
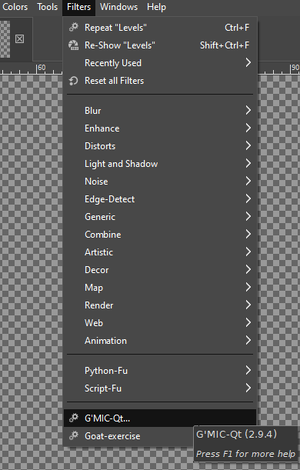
| 4. Now goto Filters/G'MIC-Qt.....
(this name may change depending on install or other parameters also this may take a while to load upon first time use so be patient) |
|
| 5. Search for "Distance Transform" | |
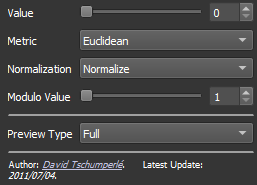
| 6. Once selected Set the values shown - for different effects try messing around with these settings | |
| 7. Then click [apply] and [ok] | |
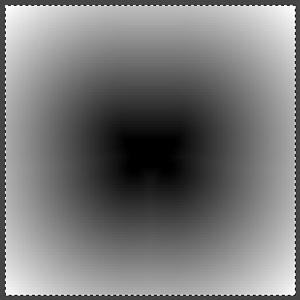
| 8. you should now have something like this but obviously more close to resemblind your shape: | |
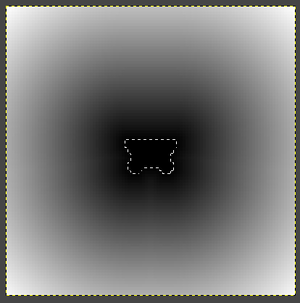
| 9. Now select the magic wand tool and set threshold to 0 now click in the very centre of the
image - if the selection resembles your shape the effect has worked - if not here are some tips:
|
|
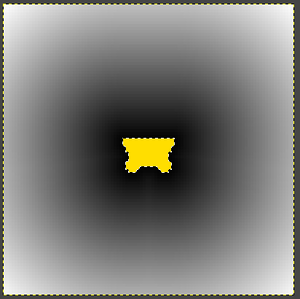
10. Now fill the selection yellow
|
|
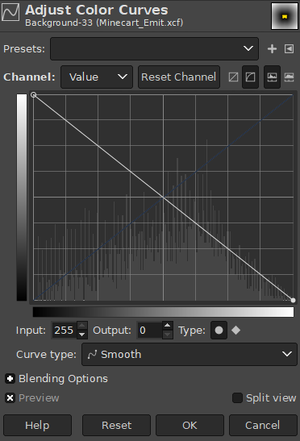
| 11. Now go into Colors/Curves and mimic these settings, click ok after mimicing them and your image should be blue - if so you've done it correct - make sure to copy the chart too | |
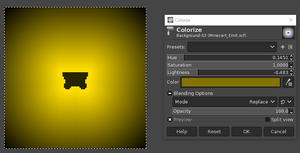
| 12. Now head over to Colors/Colorize and select the color to be a shade of yellow proceed to tweak the settings until you get a result you like mine is shown here:
Make sure you can still select/fill your imageyellow. |
|
| 13. Wohoo! you've completed the image editing part! :)
<Entity name = "Minecart_Effect" serialize = "1">
	<InheritTransformComponent
		only_position="1"
    ></InheritTransformComponent>

  	<ParticleEmitterComponent
		emitted_material_name="spark_green"
		gravity.y="0.0"
		offset.y="-18"
		lifetime_min="4"
		lifetime_max="8"
		count_min="8"
		count_max="8"
		render_on_grid="1"
		collide_with_grid="0"
		collide_with_gas_and_fire="0"
		fade_based_on_lifetime="1"
		area_circle_radius.min="0"
		area_circle_radius.max="0"
		cosmetic_force_create="1"
		airflow_force="0"
		airflow_time="0"
		airflow_scale="0"
		emission_interval_min_frames="1"
		emission_interval_max_frames="1"
		emit_cosmetic_particles="0"
		image_animation_file="FILL IN"
		image_animation_speed="2"
		image_animation_loop="1"
		image_animation_raytrace_from_center="0"
		is_emitting="1"
    ></ParticleEmitterComponent>
</Entity>
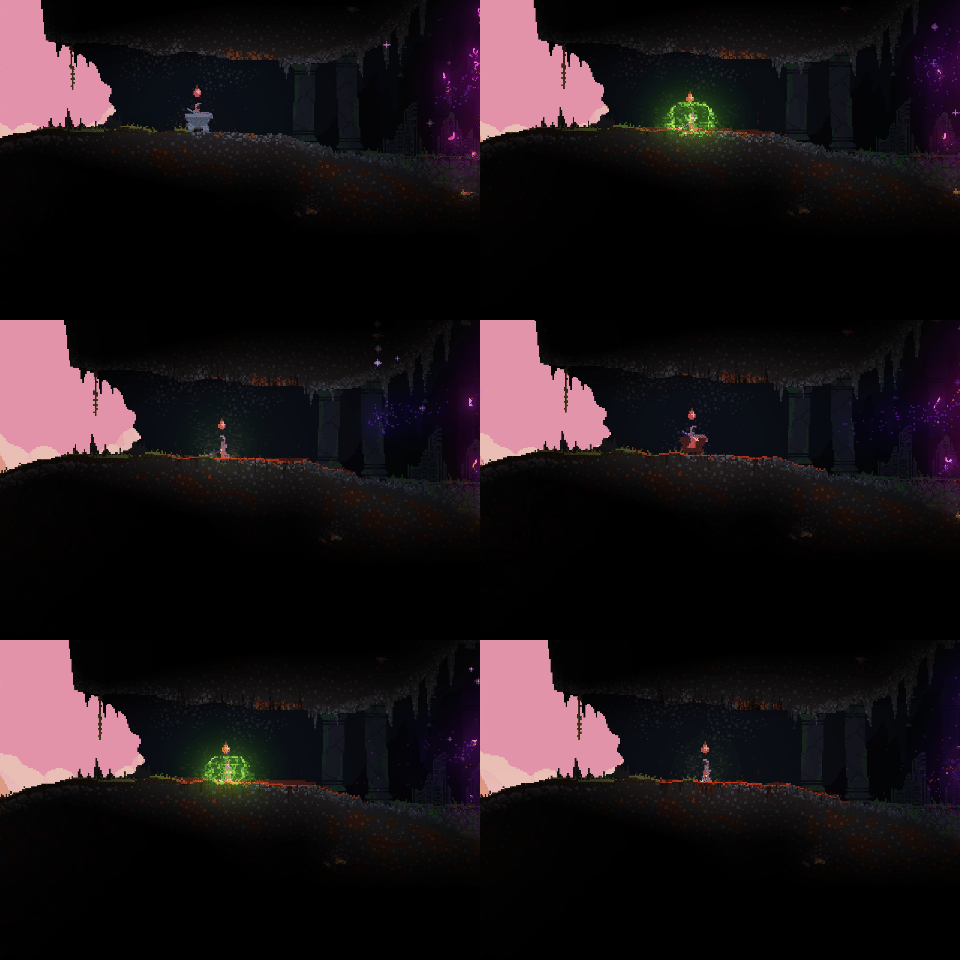
function OnPlayerSpawned(player)
    -- fly next to the spawn mountain and right a bit
    -- if you can't find it try adjusting the "Y" variable
    -- the higher the "Y" variable is teh higher the animation will be
    local Y = 200
    EntityLoad("mods/Ride Minecart/files/Minecart/minecart_effect.xml", 0, 0-Y)
end
|
Other Methods
Many other methods could be used to achieve this effect - some maybe even leading to a nicer version of this here are some other ways of doing it but theres many more - if you happen to know any please feel free to add them :D
- Gaussian blur
- Enlarge the image, have it white, on a black background, and apply distance transform
- Gradient Norm
Made by bobbymcbobface
With help from the awesome community that is noita :)

