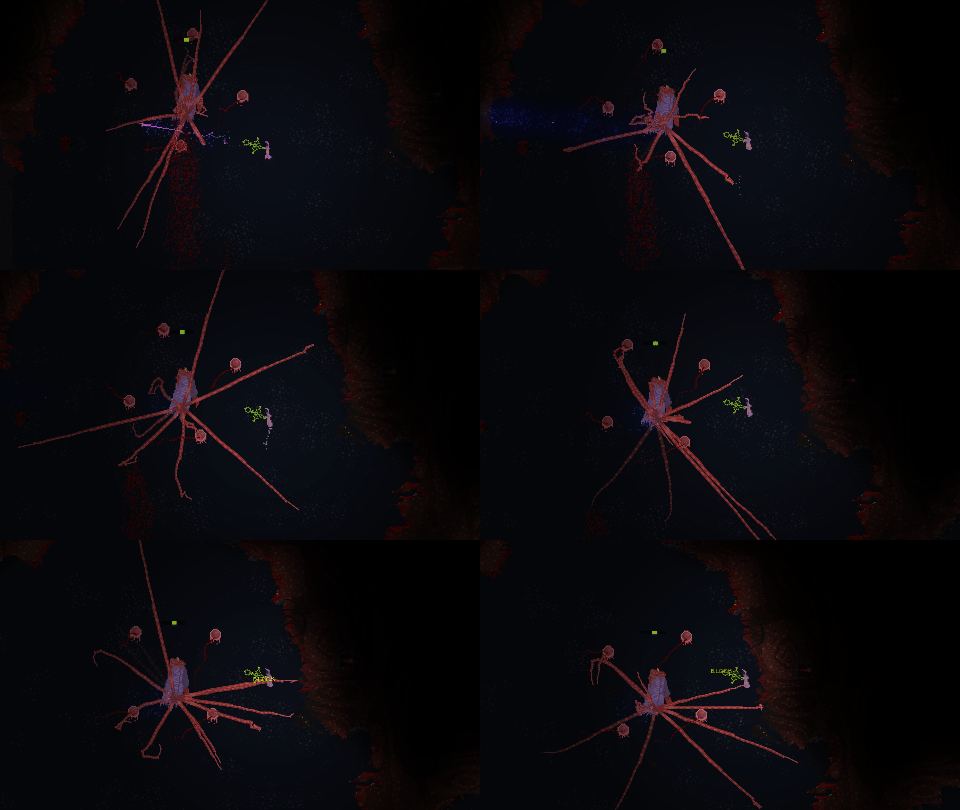
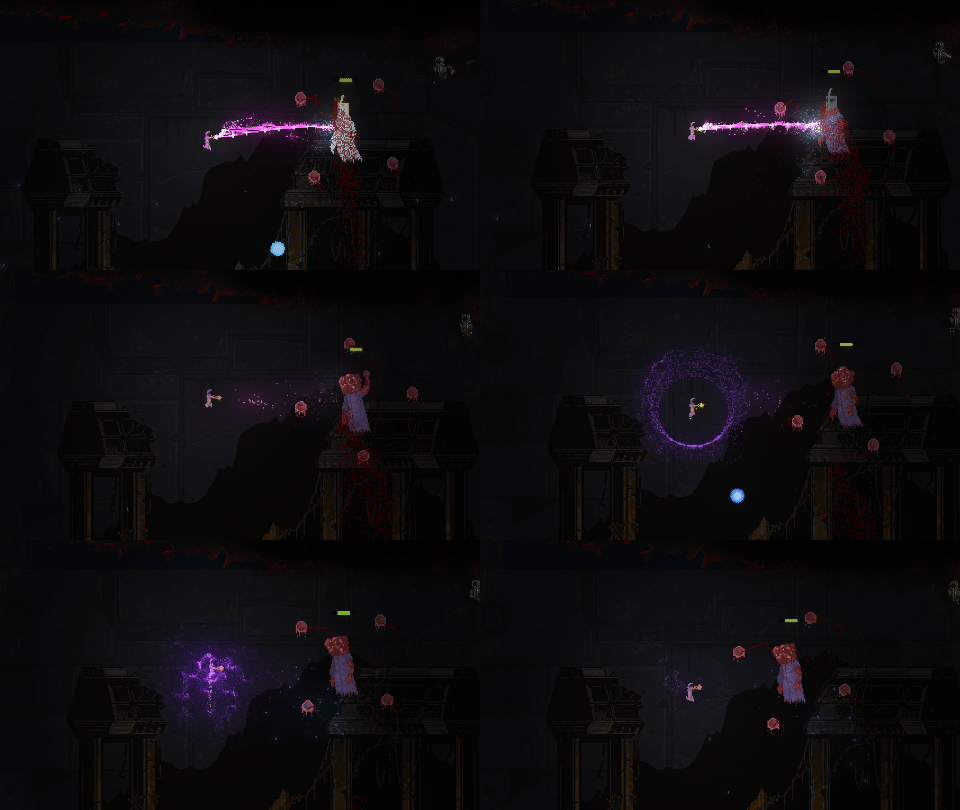
Mestarien mestari
Mestarien mestari (listen ![]() ) (also known as The Master of Masters, Grand Master, or Wizard Boss) is a boss encountered in the Throne Room, on the east edge of the eastern Wizards' Den. Although quite slow, moving in a manner similar to the Ylialkemisti, it uses an array of dangerous attacks, which can quickly overwhelm and debuff you to the point of death.
) (also known as The Master of Masters, Grand Master, or Wizard Boss) is a boss encountered in the Throne Room, on the east edge of the eastern Wizards' Den. Although quite slow, moving in a manner similar to the Ylialkemisti, it uses an array of dangerous attacks, which can quickly overwhelm and debuff you to the point of death.
Behavior
The Master of Masters will remain stationary in the center of the arena until it spots you. At this point the fight begins, and the boss will slowly move towards you, stopping from time to time in order to perform attacks.
It has 8 Orbs which slowly orbit around it.
- 4 Death Orbs (
 ) make it invincible, so they have to be killed in order to deal damage to the Master of Masters.
 - 4 Blood Orbs (
 ) are not to be killed, but avoided, as the damage they receive will be unavoidably dealt back to you as Blood Link damage (actual damage type is curse). This can be devastating if you're using high-damage, one-shot spells. Note that this damage is nullified by Ambrosia.
When you are visible, the boss will periodically raise its hand, and perform one of the Phase 1 or Phase 2 attacks, granted it is in said Phase. In Phase 3 the boss will only use one attack, while continuously chasing you. The boss transitions to Phase 2 when it reaches 50% health and its appearance changes such that its helmet is removed revealing a writhing mass of flesh. Phase 3 begins when the boss reaches 25% health and its head seems completely gone.
| Phase | Attack | Description | ||
|---|---|---|---|---|
| Phase 1 & 2 | Random Debuff | A purple, slowly closing in circle will appear around you. After about 2 seconds, a random negative status effect will be applied.
The effects can be: | ||
| Green Meteor | A fast, green meteor, that deals 125 explosion damage. | |||
| Summoning Spark | A sparkly, yellow projectile, that doesn't deal damage, but upon expiring will summon a random Mestari enemy. | |||
| Magical Burst | An inaccurate burst of multiple blinding, polymorphing, teleporting and neutralizing magical projectiles. | |||
| Phasing Sphere | A blue sphere, that travels in a phasing manner. After some time of flight, it will fire 3 copies of itself, which behave similarly. This process can quickly get overwhelming, but stops after enough copies have been created. | |||
| Phase 2 | Blood Tentacle | A long, red tentacle that deals 25 melee damage on contact. | ||
| Phase 3 | Tentacle Frenzy | This attack is constantly used for the whole duration of Phase 3. The boss will fire Blood Tentacles in random directions, and gains a speed boost. In addition to that, any nearby enemies will start using Blood Tentacles, until the Grand Master is killed. |
Rewards
Defeating the Master of Masters unlocks the following five spells:
In addition to the extremely useful Sauvan Ydin, the Master of Masters also drops a book titled "A Cunning Contraption". Its contents are a hint to the Crystal Key secrets.
A Cunning Contraption
"The secret lies in music!
The key to the heavens' lock is borne from music all over the world.
And in a way, as above, so below..."
Killing the Master of Masters by drowning it in swamp also spawns and unlocks the Wand Homing spell. One reliable way to do this is by obtaining the Summon Swamp spell, which always spawns on the Kantele Hauen Leukaluusta. Note that the orbs can be killed and the boss can be harmed by other means before this occurs - it only needs to take the last point of damage from drowning (while touching swamp) to succeed.
Combat Tips
- The boss has a nullification effect that destroys projectiles, but the top 16 pixels of its hitbox are outside of this. Shooting the head from above is often a lot more effective as a result.
- Don't be greedy with your shots, especially when using high damage wands. One missed shot into a Blood Orb can take down a huge chunk of your health, or even kill you.
- Lead the Master of Masters to a small structure in the Wizard's Den and orbit it during the fight. This can be a great solution for avoiding the Magical Burst attack, which can easily spell death without shields or repulsion fields.
- In the first two phases, you can abuse the fact that the Master of Masters will raise its hand to head level to cast its spells. If you manage to get the Master of Masters to the opposite side of a wall that you are facing and then open a gap in said wall near its lower body, you will be able to freely attack it without any of its projectiles hitting you, as the Grand Master will generally sit still and cast projectiles that hit the wall above. However, know that the Green Meteor spell can destroy terrain.
- It may be wiser to use lower damage rapid fire wands, as the boss does not have invincibility frames or a shield. This also reduces the risk of losing large amounts of health due to Blood Orbs.
- Make sure to clear the nearby area of any enemies. Kill the various Masters just as they are summoned. If ignored, they can quickly increase in numbers and overwhelm you.
- Always check what debuff the boss gives you. With wands that can hurt you, do not shoot when under the Boomerang Spells debuff.
- You can exploit the Boomerang Spells debuff to heal with a Healing Bolt. Note that you can hurt yourself with healing bolts if certain conditions are met. For details, see the Healing Bolt page.
- You can heal by shooting Blood Orbs with Healing Bolt.
- Melee Immunity can make Phase 3 trivial.
- Staining yourself with Ambrosia is recommended.
- Trick kills methods do not trigger damage reflection.
- It loses invincibility for 1 frame every 100 frames in phase 1 that it is possible to kill it with Piercing Shot and Homing.
- Material damage doesn't trigger the Blood Orbs' revenge mechanic, so a Sea of Acid/Lava can make phase one easier, as long as you have somewhere safe to land.
- After the boss dies, be cautious you don't accidentally destroy the Sauvan Ydin before you can pick it up. Black Holes, leftover lava, and certain explosions (like Fireball Orbit) can easily destroy it before you start looking for it.
- A single Circle of Acid creates enough acid to destroy the boss entirely, but is practically guaranteed to destroy the Sauvan Ydin.
Builds
You can drown the Master of Masters.
A single shot with Personal Lightning Caster can kill it properly.
Mestarien mestari is vulnerable to Acid.
Earthquake can kill it instantly.
Soundtrack
While fighting the Master of Masters, the music from track 5 of Noita Official Soundtrack vol. 3 titled Noises All Around Us [1] is played.
Gallery

References
History
- Apr 8 2024:
- Added holy damage multiplier of 1.2.
- The Spell Duplication spell now drops when the boss is killed.
- Added a new secret when the boss dies by drowning in swamp.


